Coconut Whipped Cream: A Step-By-Step Photo Tutorial
Did you know you can make a decadent whipped cream by using a can of coconut milk? Not only is it simple to make, but it’s easily the best-tasting whipped cream I’ve tried.
I know whipped coconut cream isn’t new to many of you – people have been making coconut whipped cream for years and years. I first read about it a couple years ago on Vegan Joy’s website and have seen it popping up everywhere.
In today’s post, I’ll show you just how easy it is to make. I can promise you, your life will change when you taste this stuff!
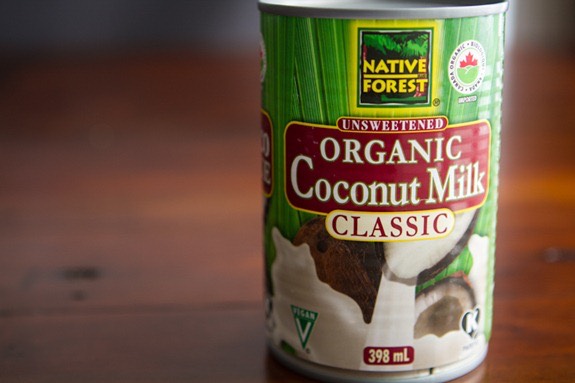
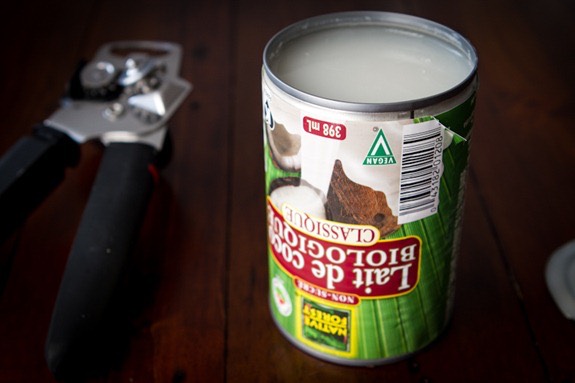
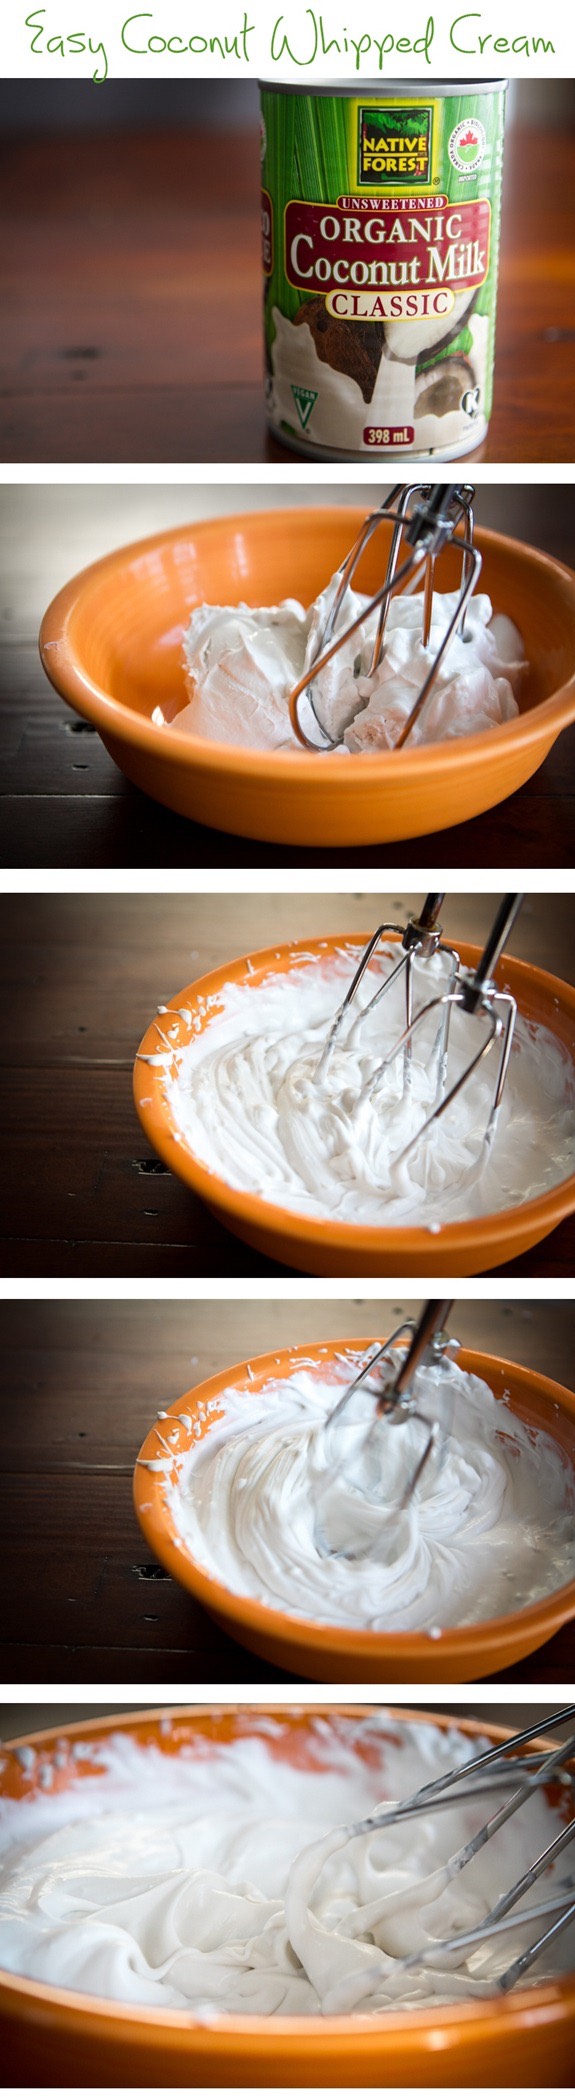
1. Grab a can of full-fat can coconut milk (without guar gum listed as an ingredient) – Update: Native Forest now puts guar gum in the ingredients and this causes the cream and water to emulsify which is not what we want. The can must also be full-fat because you will be whipping the solid cream. Do not use light coconut milk because it won’t turn out. In summary – look for a full-fat can of coconut milk that does not have guar gum listed on the ingredient list. Cool?
Many of you have had trouble making whipped coconut cream with certain brands because some cans don’t always separate. A reader let me know that Thai Kitchen has changed their formula so that it doesn’t separate anymore. Apparently they are coming out with small cans of pure coconut cream instead. Be on the look out! I used Native Forest with decent result, although I have had some duds before.
2. Place can in the fridge overnight. This is another crucial step. You need to chill the coconut cream until it’s very firm. I once tried to make whipped coconut cream without chilling the can – big mistake! It was a watery mess. I like to keep at least a couple cans in the back of my fridge just in case I need a quick whipped cream for a recipe. Then you always have it on hand and don’t have to wait overnight to use it. A few extra cans of chilled coconut milk never hurt anyone.
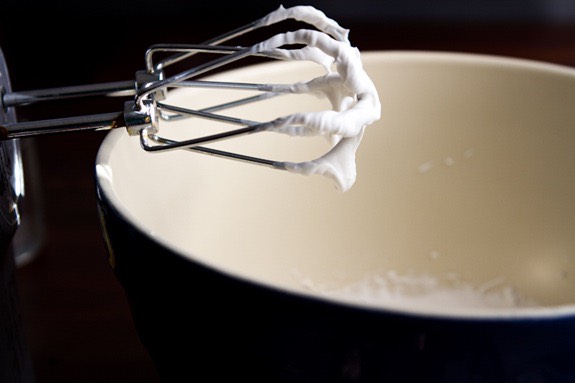
Just before you make your whipped cream, place a mixing bowl in the freezer for 5 minutes or so. This helps keep everything cold and will be especially helpful for those of you in very warm climates.You can also put the beaters in the freezer too, but it’s not necessary.
3. Remove the chilled can from fridge and FLIP it upside down.
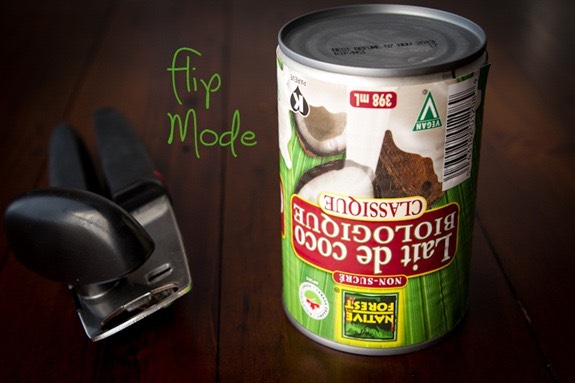
Why flip it upside down?
The liquid coconut milk (the part that doesn’t harden) will now be at the top of the can!
4. Open the can. See the liquid at the top? You won’t be whipping this part.
5. Pour the coconut liquid into another bowl. You should have just under 1 cup of liquid, but this yield will vary a bit by brand and even by can.
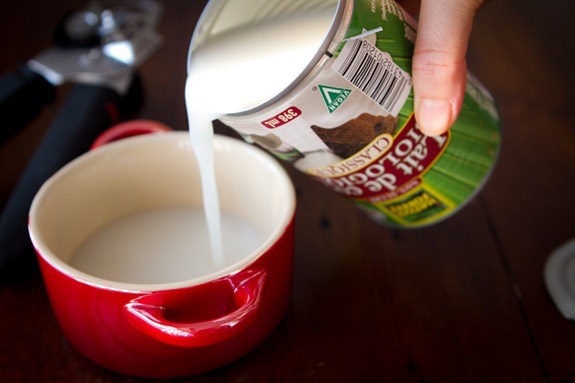
Don’t throw it away – I like to use it in smoothies along with mango, kale, banana, and chia for a fun tropical smoothie. You can also use it in baking and cooking.
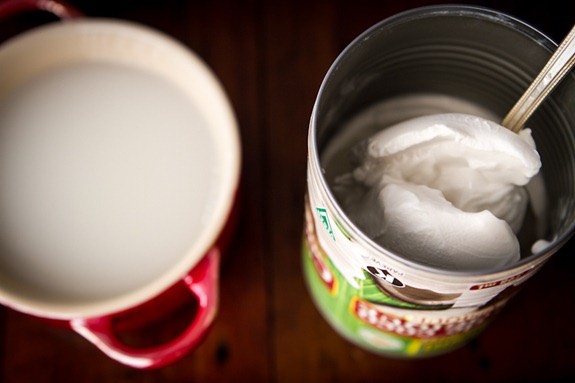
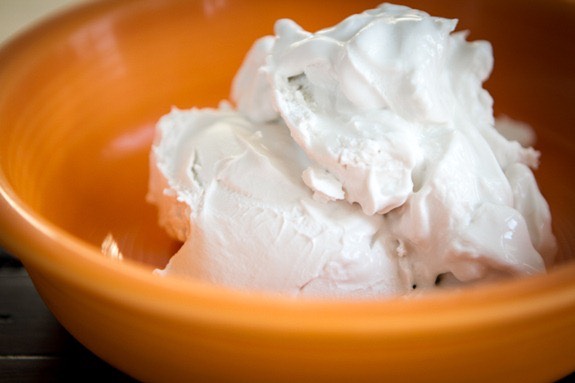
As you can see below, you are left with only the hardened coconut cream! Come to mama!! This is exactly what we want to use to make our coconut whipped cream.
6. Scoop the coconut cream into your chilled bowl. (I don’t recommend using a shallow bowl like this one – I only used it for photo purposes so you could see it better!)
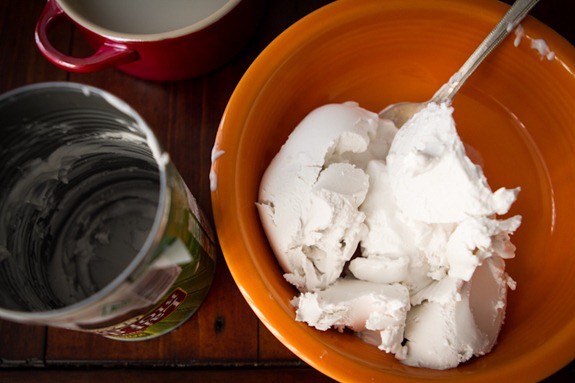
As you can see, you get a lot of hardened cream to work with!
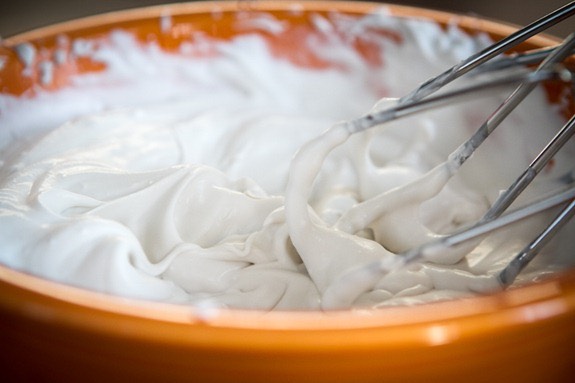
7. Whip the cream. Grab a hand mixer (alternatively, you can do this in a stand mixer – just chill the bowl first) and whip the cream until fluffy. It’s really too much fun.
There may be a strong urge to shove your face in the bowl.
8. Add in a touch of sweetener and vanilla extract and whip it again.
You can use regular cane sugar, confectioner’s sugar, or even a touch of maple syrup. I find 2-3 teaspoons usually does the trick for my taste buds. I also like to add about 1/4-1/2 tsp pure vanilla extract or a vanilla bean. The vanilla really takes it over the edge – I don’t suggest skipping it!
The first time I made this I could not get over how amaaaaazing it tastes. Eric even said he wouldn’t be able to tell that it wasn’t made from dairy. Two big thumbs up from us!
How to use:
You can use this whipped cream just like regular dairy whipped cream. I like to use it in desserts & frostings, it’s amazing over a simple bowl of fruit or pancakes, and sometimes I add a dollop on my vegan overnight oats for an extra creamy bowl. You can even spoon a bit on top of a pie or fruit crisp or stir some into a bowl of banana soft serve. The options are really endless! Have fun making different kinds of flavours and fooling your friends and family.
If making a whipped frosting, I suggest storing the decorated cake/cupcakes in the fridge until ready to serve.
Storing:
Have leftovers? You can easily store it in the fridge for at least 1.5 weeks (probably longer) in a sealed container. It will firm up a bit more in the fridge. Simply scoop it into a bowl and re-whip it when you need it.
I hope you enjoy this as much as I do! For those of you who’ve been making it for a while now, what’s your favourite way to prepare/enjoy it?
Read more: http://ohsheglows.com/2012/08/30/coconut-whipped-cream-a-step-by-step-photo-tutorial/#ixzz31BNL6JI1